
Getting solar installed is a serious investment. For most homes and businesses, the expectation is simple: once the system is installed, the power should work when it is needed.
But switching on the inverter is not the same thing as completing a proper installation.
The system still needs to be checked. The panels need to be installed correctly. The batteries and inverter need to be properly connected. Cables need to be protected. Electrical protection needs to be in place. And the system should perform as expected under normal conditions.
A few checks before handover can save you from discovering expensive problems months later.
1. Confirm What Was Actually Installed
Start with the simplest check: compare the equipment installed with what you agreed to buy.
Count the solar panels. Check the inverter model. Confirm the battery capacity and the major electrical components included in the quotation.
This matters because the final installation should match the system you paid for.
If your quotation says ten panels were supplied, there should be ten panels on the roof. If you paid for a particular inverter model, the model installed should be the same one.
Keep the quotation, invoice and equipment details for your records.
2. Check the Panel Installation
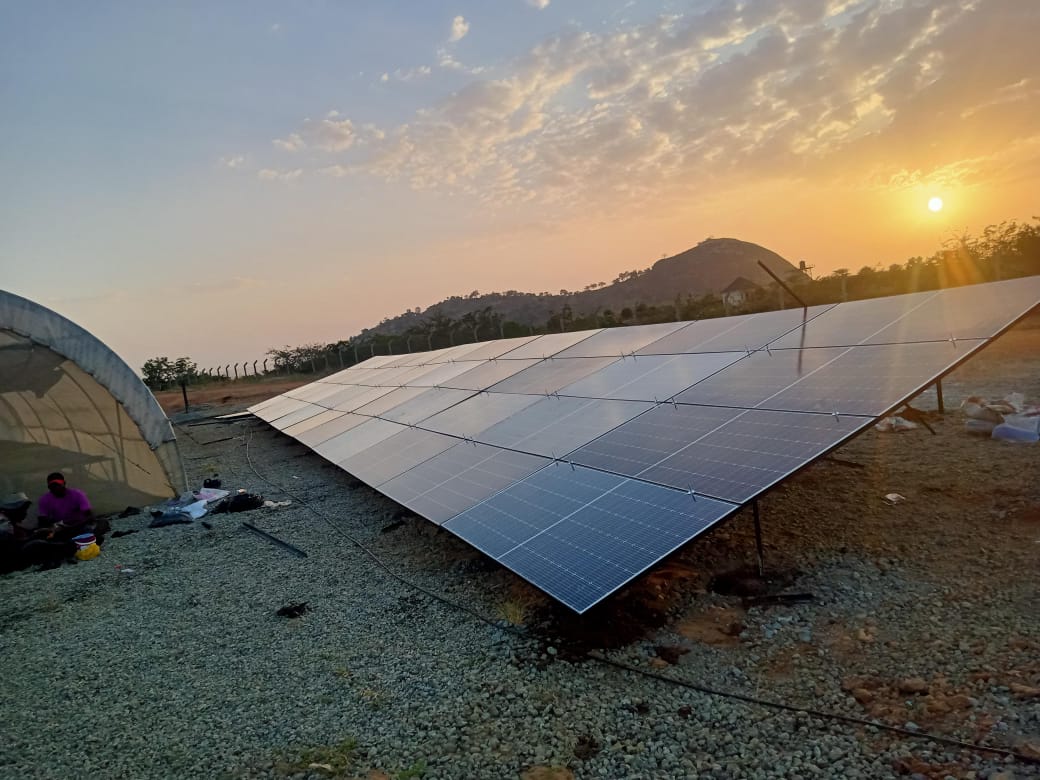
Solar panels spend years outside, exposed to sun, rain and wind. Their mounting should therefore be treated as an important part of the installation.
Look at how the panels are positioned and mounted. They should be securely fixed and arranged without unnecessary movement or damage.
Pay attention to obvious shading as well. A tree, building, water tank or another structure casting a shadow over part of the panels can reduce the amount of energy the system produces.
The installer should also leave the panels accessible enough for future inspection and maintenance.
3. Make Sure the Inverter Is Installed Properly
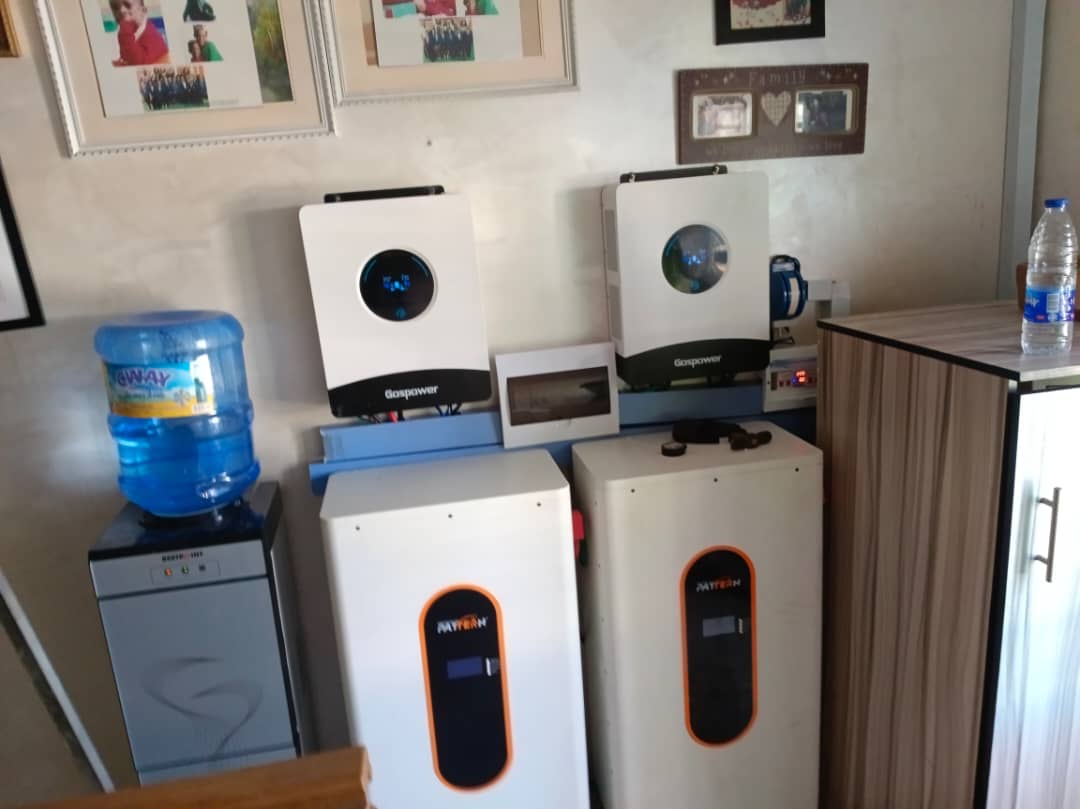
The inverter is one of the most important components in the system. It manages the electricity coming from the solar panels and, depending on the setup, the batteries and the grid.
Its location matters.
It should be installed somewhere suitable, with enough ventilation and protection from unnecessary heat, moisture and physical damage.
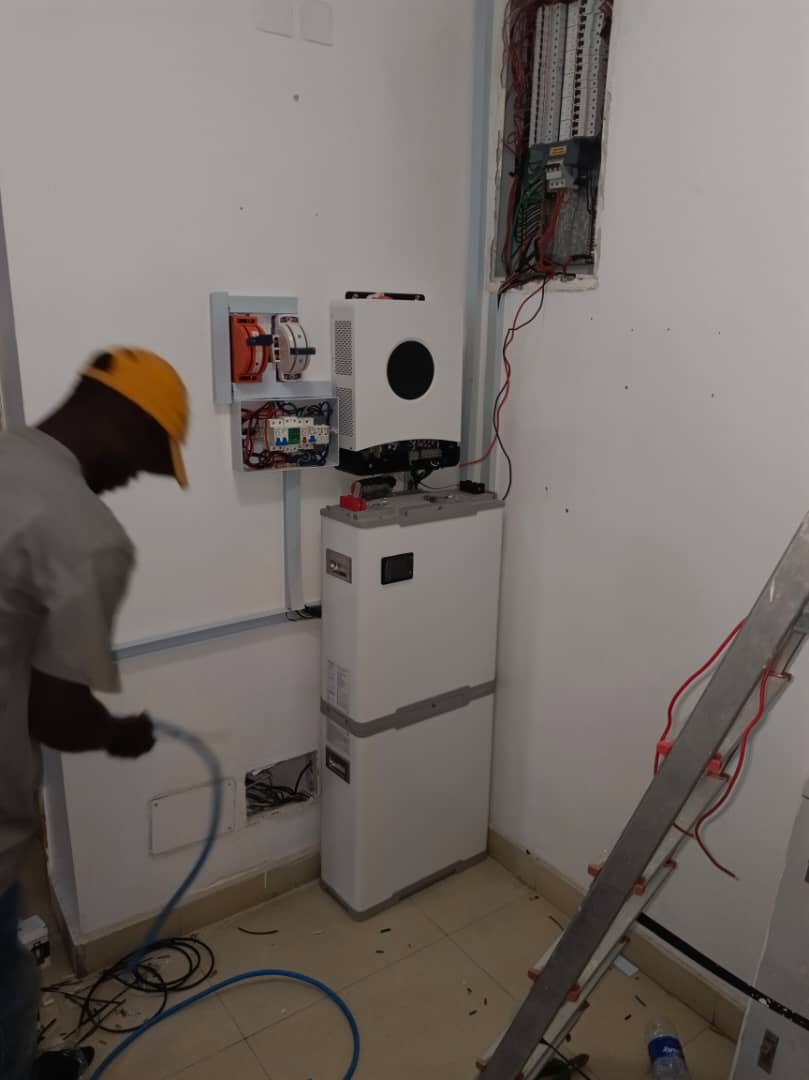
The cables connected to it should also be properly arranged rather than left hanging loosely around the equipment.
Before handover, the installer should demonstrate the inverter and explain the important readings, warning indicators and basic operating controls.
4. Check the Battery Setup
If your system includes battery storage, inspect the battery installation carefully.
Batteries should be installed in a suitable location and connected according to the manufacturer's requirements.
The battery capacity should also make sense for the system you bought. A large inverter paired with insufficient storage may not provide the backup time you expected.
This is also worth confirming against what you were quoted: if the conversation around tubular vs lithium battery for solar favoured lithium for its longer lifespan and faster charging, make sure lithium is actually what was installed and not substituted along the way.
Ask the installer to explain how the battery charges, how much power it can provide and what happens when the battery reaches its minimum charge level.
5. Look Closely at the Wiring
Good wiring is easy to overlook because most customers are more interested in the panels and batteries.
But wiring is one of the parts of the installation that should never be treated as an afterthought.
Cables should be properly sized for the equipment they are serving. Connections should be secure, and cables should be routed neatly and protected from unnecessary exposure to heat, water, movement and physical damage.
You should not see loose wires randomly running across the installation.
A professional installation should look organised because the wiring has been planned, not simply hidden away.
6. Check the Electrical Protection
Solar equipment needs protection just like the rest of the electrical system in a building.
The installation should include the appropriate breakers, isolators and other protection required for the particular system.
These components make it possible to isolate parts of the system when maintenance is required and provide protection against electrical faults.
Do not assume that protection is included simply because an inverter has been installed. Ask the installer to show you the protection devices and explain what each one does.
7. Ask About Earthing
Earthing is another part of a solar installation that customers often never see after the job is completed.
A proper earthing arrangement helps provide a safer path for unwanted electrical current and forms an important part of the protection system.
Do not settle for being told that the system has been earthed.
Ask the installer to explain where the earthing is connected and, where applicable, provide the result of the relevant electrical test carried out during commissioning.
8. Check That the System Is Actually Producing Power
Once everything has been installed, the system should be tested under suitable conditions.
On a reasonably sunny day, check the inverter's generation reading. The exact number will depend on the panel capacity, sunlight, temperature, shading, battery state and electricity being used at the time.
What matters is whether the system is behaving reasonably for its design.
If a system was designed to provide a particular amount of solar capacity but is consistently producing far less than expected under good sunlight, the installer should investigate rather than simply declare the system complete.
9. Test the Backup Power
If your solar system is designed to provide backup when the grid goes off, test that function before handover.
The installer should demonstrate what happens when grid power is unavailable and how the inverter switches to the available backup source.
You should also know which appliances are connected to the backup circuit.
This is especially important for homes and businesses with heavy appliances. Not every appliance needs to be placed on backup power, and the system should be designed around the loads it is expected to carry.
10. Test the Monitoring System
Many modern inverters provide a mobile app or online monitoring platform.
If yours does, make sure it is working before the installer leaves.
The account should be connected to you, not permanently tied to the installer's phone or email.
Ask the installer to show you where you can see solar production, battery level, power consumption and system alerts.
Being able to see what your system is doing makes it much easier to identify unusual behaviour later.
11. Get the Important Documents
Do not let the installer leave without giving you the basic information you will need later.
Keep copies of your quotation, invoice, equipment specifications, warranties and installation information.
You should also know the make and model of the major components in your system.
This information becomes particularly useful if you need maintenance, replacement parts or warranty support in the future.
12. Ask the Installer to Explain the System
Before the installation is handed over, you should understand the basics of what you have bought.
The installer should show you how to safely operate the system, what the normal indicators mean and what to do if an error appears.
You should also know which equipment should not be switched off unnecessarily and who to contact when there is a technical problem.
A system that requires a technician every time the owner has a basic question has not been properly handed over.
Do Not Judge an Installation Only by How It Looks
A neat installation is good. But neatness alone does not prove that a solar system has been installed correctly.
The real test is how the system performs and whether the electrical installation has been properly designed and executed.
Good workmanship should be visible in the details: secure connections, organised cables, suitable protection, proper equipment placement and a system that behaves as expected.
The Handover Is Part of the Installation
The job is not finished when the panels are mounted and the inverter turns on.
Testing, documentation and customer handover are part of delivering a complete solar system.
Taking the time to check the installation before signing off gives both the customer and installer an opportunity to identify problems while the installation is still fresh.
Fixing a loose connection or correcting a wiring issue immediately is far easier than discovering the same problem after months of use.
At Natures Eco Tech Solar Installations
At Natures Eco Tech Solar Installations, we believe a solar project should be treated as a complete power system from design through installation and handover.
That means looking beyond the panels and inverter. System sizing, battery storage, wiring, protection, equipment placement and testing all matter.
Our goal is simple: install a system that makes sense for your actual energy needs and is ready to do its job when the grid goes off.
Because the best time to find an installation problem is before the installer leaves.
Talk to us about your solar installation ↗